Connecting Returnista
Last updated: June 16, 2026
This guide walks you through connecting your Returnista account to Engaige using an HTTP integration, enabling actions that interact with return requests, orders, consumers, and shipments.
Prerequisites
A Returnista account with admin access
Access to your Engaige dashboard with permission to manage integrations
Step 1 — Find your Returnista Account ID
Log in to your Returnista dashboard
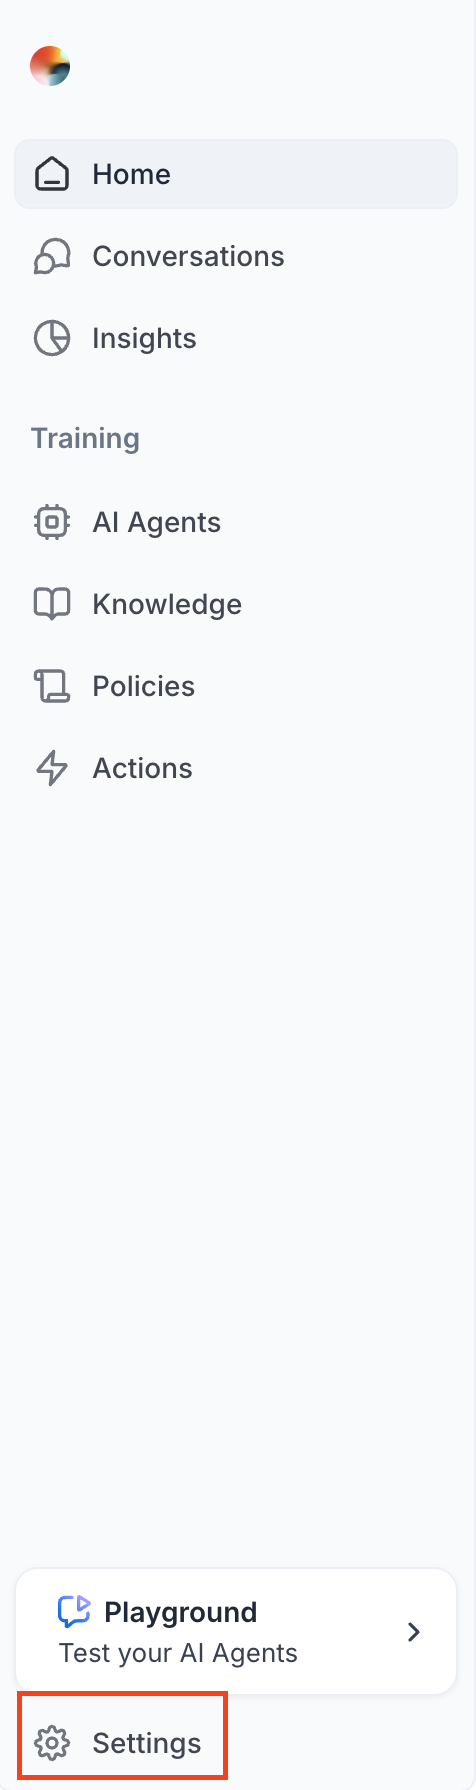
Navigate to Settings
Note your Account ID — this is required as part of all API call paths (format:
/api/v0/account/{accountId}/...)
Step 2 — Create a Returnista API Key (Service User)
Engaige authenticates with Returnista using a non-expiring API key tied to a Service User account.
In your Returnista dashboard, go to Settings → Team (or API / Developer Settings)
Create a new Service User — this is a dedicated machine account for the integration
Assign the appropriate permissions for the resources Engaige needs to access
Once the Service User is created, generate an API key for it
Copy the API key immediately and store it securely — you may not be able to retrieve it later
Step 3 — Create the HTTP Integration in Engaige
Log in to your Engaige dashboard
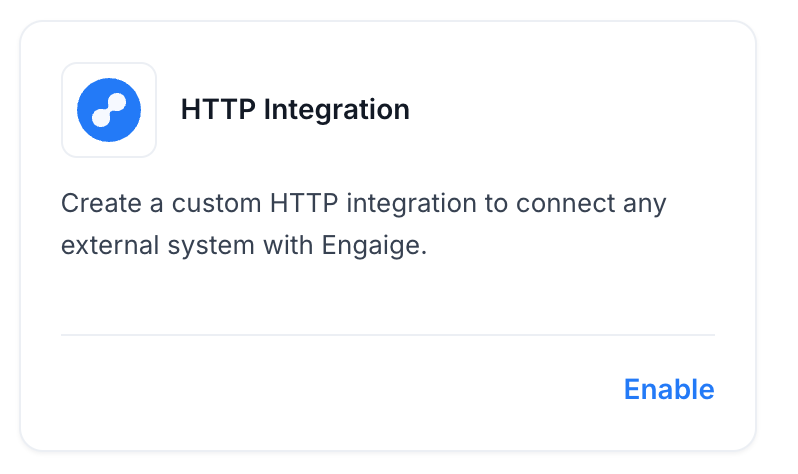
Navigate to Integrations → HTTP
Click Enable
Fill in the following fields:
FieldValue | |
Integration name |
|
Domain |
|
Authentication method |
|
Bearer token | Paste the API key from Step 2 |
Click Save
Step 4 — Create an HTTP Action linked to Returnista
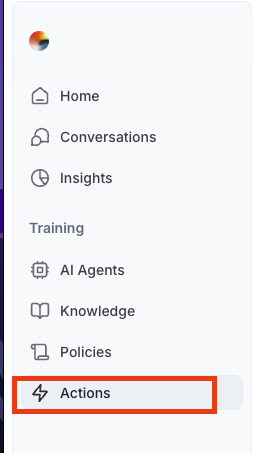
In Engaige, go to Actions and click Add new action
Select HTTP as the action type
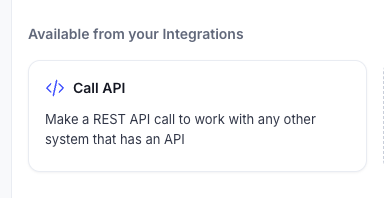
Link it to the Returnista integration you just created
Configure the request using your Account ID in the path:
Fetch a specific order:
Method:
GETPath template:
/api/v0/account/{accountId}/return-orders?filter=purchaseOrderNumber:#{orderNumber}In Action Input, you must describe the parameter orderNumber: "The e-commerce order number that the customer returned. The preprende letters of the order number must always be passed in capital letters. For example ,if a customer send their order number as "ord12345" ,you must pass in "ORD12345". If a customer is sending their order number without letters prepended, you must add the letters as capital letters "ORD". For example, if a customer is sending order number "12345", you must pass in "ORD12345"."
Save the action
Fetch a specific shipment linked to an order:
Method:
GETPath template:
/api/v0/account/{accountId}/return-order/#{returnId}In Action Input, you must describe the parameter returnId: "The Returnista return id of the returned shipment."
Save the action
For difference endpoints/actions, you can refer to Returnista's API Docs.
Step 5 — Test the Integration
In the Engaige dashboard, find your Returnista action in the Actions screen. Click on the action, go to tab Test and fill a parameter if needed. You will se the response of the request you just passed.
Use the Test option to verify the connection/call succeeds
Quick Reference
ItemValue | |
Returnista API base URL |
|
Auth header |
|
Resource path pattern |
|
API key management | Returnista Dashboard → Settings → Service Users |
Security note: Use a dedicated Service User API key for Engaige. Only grant it access to the resources Engaige actually needs.