Connecting Sanity
Last updated: March 6, 2026
This guide walks you through connecting your Sanity project to Engaige using an HTTP integration, so you can create actions that read or write content from your Sanity Content Lake. You can always refer to Sanity's API docs.
Prerequisites
A Sanity account with an existing project
Access to manage.sanity.io
Access to your Engaige dashboard with permission to manage integrations
Step 1 — Find your Sanity Project ID and Dataset name
Go to manage.sanity.io
Select your project
On the project overview page, copy your Project ID (e.g.
abc123xyz)Note your Dataset name — typically
productionunless you've created custom datasets (visible under Datasets in the left sidebar)
Step 2 — Create a Sanity API Token
Engaige needs a Robot Token to authenticate with the Sanity API on your behalf.
In manage.sanity.io, open your project
In the left sidebar, go to Settings → API → Tokens
Click Add new token
Give it a descriptive name, e.g.
Engaige IntegrationChoose the appropriate permission level:
Viewer — read-only access (recommended if you only need to fetch content)
Editor — read and write access (required if you need to create/update documents)
Click Save
Copy the token immediately — Sanity only shows it once. Store it securely.
Step 3 — Create the HTTP Integration in Engaige
Log in to your Engaige dashboard
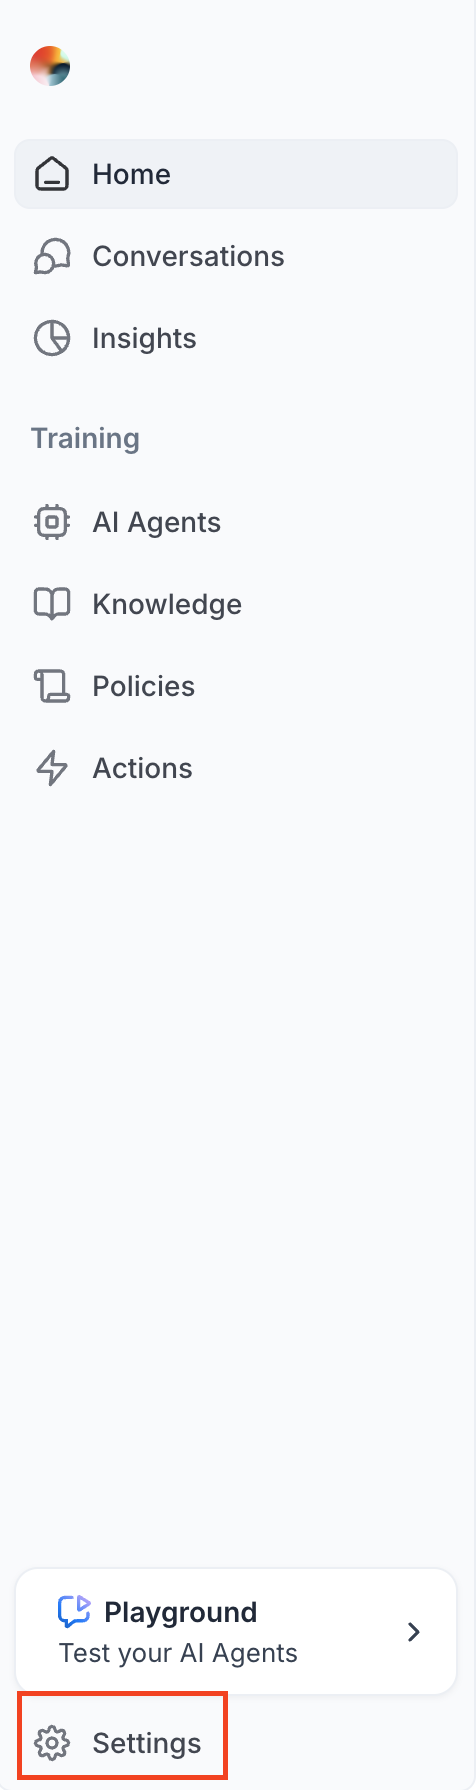
Navigate to Settings → Integrations → HTTP
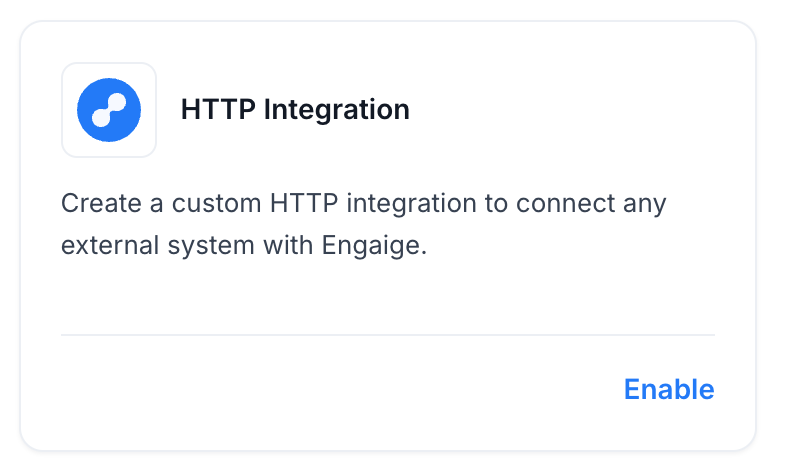
Click Enable
Fill in the following fields:
FieldValue | |
Integration name |
|
Domain |
|
Authentication method |
|
Bearer token | Paste the API token you copied in Step 2 |
Click Save
Step 4 — Create an HTTP Action linked to Sanity
Now you can create an action that calls the Sanity API.
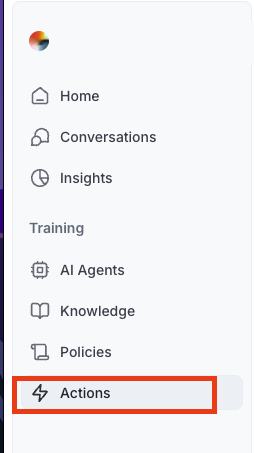
In Engaige, go to Actions and click Add new action
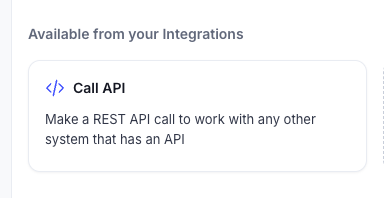
Select Call API as the action type
Link it to the Sanity integration you just created
Configure the request:
To query content (GROQ query):
Method:
GETorPOSTPath template:
/v2021-06-07/data/query/<your-dataset>e.g.
/v2021-06-07/data/query/production
For a GET request, append your GROQ query as a URL parameter:
/v2021-06-07/data/query/production?query=*[_type == "article"]
To mutate/write content:
Method:
POSTPath template:
/v2021-06-07/data/mutate/<your-dataset>Body template: A JSON payload containing your mutations
Save the action
Step 5 — Test the Integration
In the Engaige dashboard, find your Sanity integration
Use the Test option to verify the connection succeeds
Trigger your action in a test conversation to confirm it returns the expected Sanity data
Quick Reference
ItemValue | |
Sanity API base URL |
|
CDN base URL (read-only, cached) |
|
Query endpoint |
|
Mutate endpoint |
|
Auth header |
|
Token management | manage.sanity.io → Settings → API → Tokens |
Security note: Use a dedicated Robot Token (not your personal token) for any integration. Only grant the minimum permission level needed — use Viewer for read-only use cases.