WooCommerce
Last updated: September 11, 2026
Bridge the gap between your AI and WooCommerce so your agents can look up orders and order history for customers: resolving tracking, status, and order-related inquiries instantly without human intervention.
Setup
Step 1
To connect your WooCommerce store to Engaige, you need API credentials: Store URL, Consumer Key, and Consumer Secret. These allow your agents to read order and customer data from your store via the WooCommerce REST API. You can generate these in your WooCommerce admin (e.g. WooCommerce → Settings → Advanced → REST API). We advise you to direct yourself to the guide provided by the WooCommerce team 👉 HERE to generate credentials.
Assigning a descriptive name to your API key in WooCommerce (e.g. Engaige) makes it easier to identify later.
Step 2
Once you have your credentials, you can enable the integration inside Engaige:
Log in to your Engaige dashboard.
Navigate to the Settings section on the left side panel.
Click on the Integrations section.
Click on the WooCommerce integration Enable button. If the WooCommerce integration is not visible, use the search bar at the top right of the page to locate the integration.
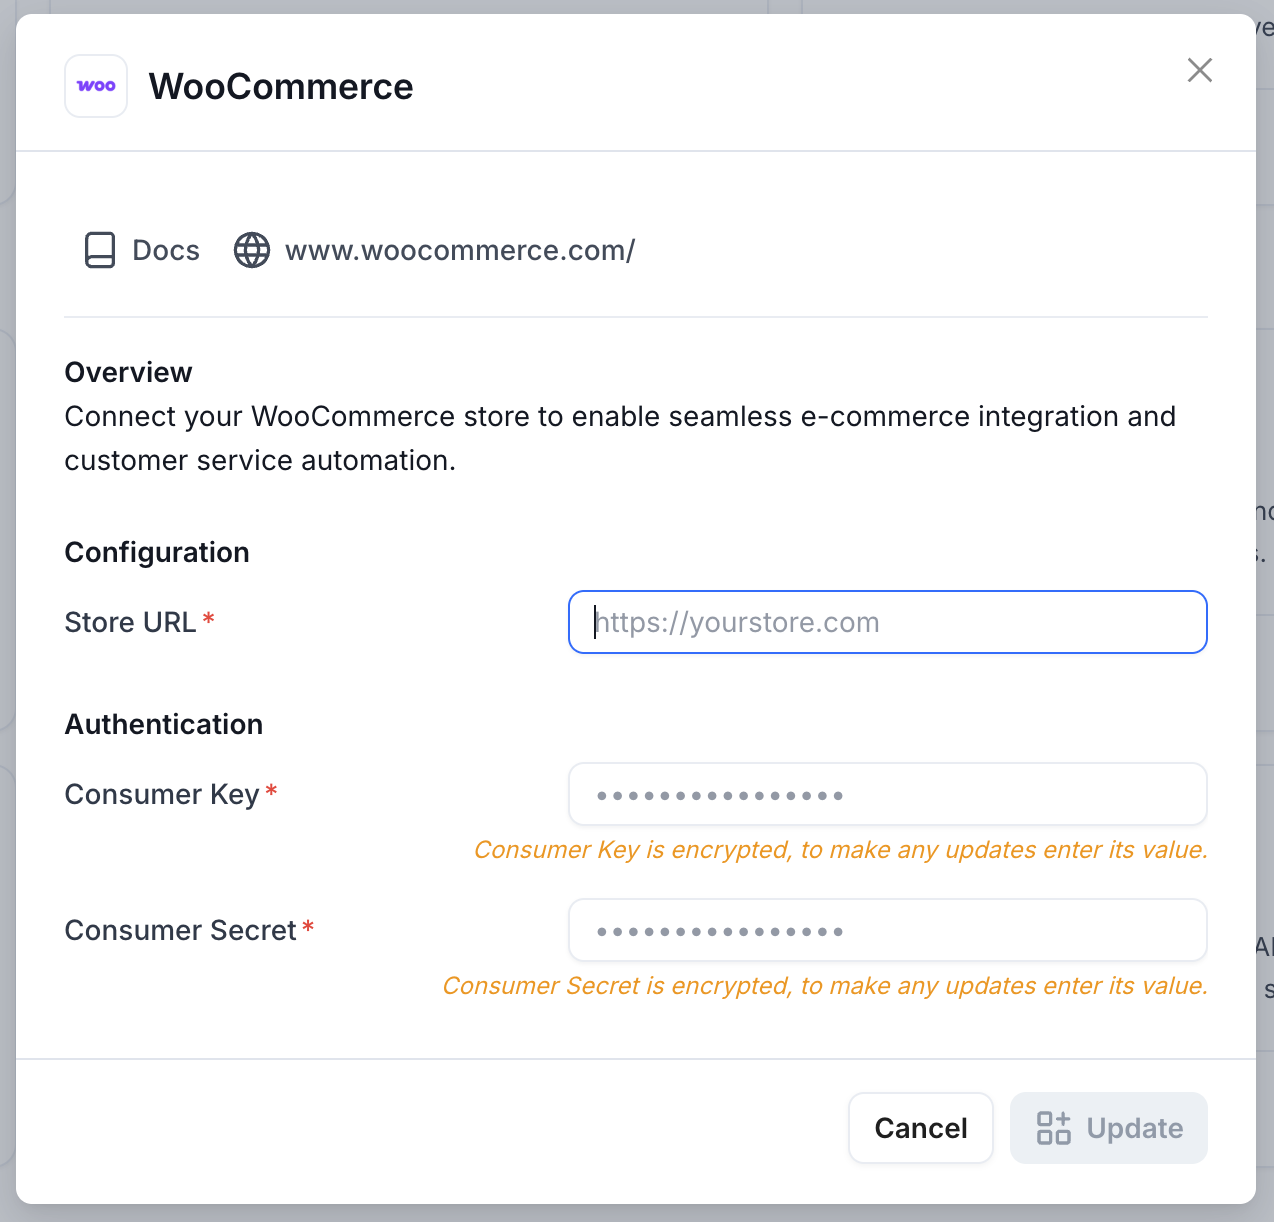
Enter your credentials from Step 1 in the form: Store URL, Consumer Key, and Consumer Secret.
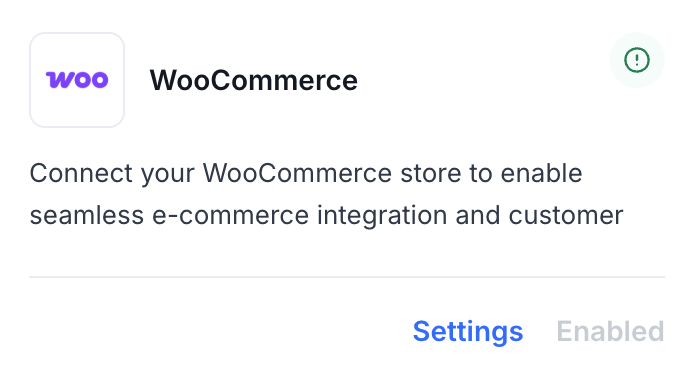
You are now all done ✅: your WooCommerce store is linked to Engaige. If the setup is correct, you will see a green indicator on the integration, confirming that the WooCommerce integration is synced with Engaige and that the related actions are unlocked for the agent.
Actions
Enabling the WooCommerce integration unlocks two actions for your agent. In the Actions view, use the search bar at the top right and search for WooCommerce to display both actions.
Get Order
Functionality: This action lets the agent retrieve a single order from your WooCommerce store by order ID. The agent can then answer questions about that order: items, status, totals, shipping, and so on.
Security & Verification: To protect customer data, the agent must confirm the requester is the order owner. Either the customer’s email or postal code (billing or shipping) is required. The email must match the billing email on the order, or the postal code must match the billing or shipping postcode. If the details don’t match, the action fails and no order data is returned.
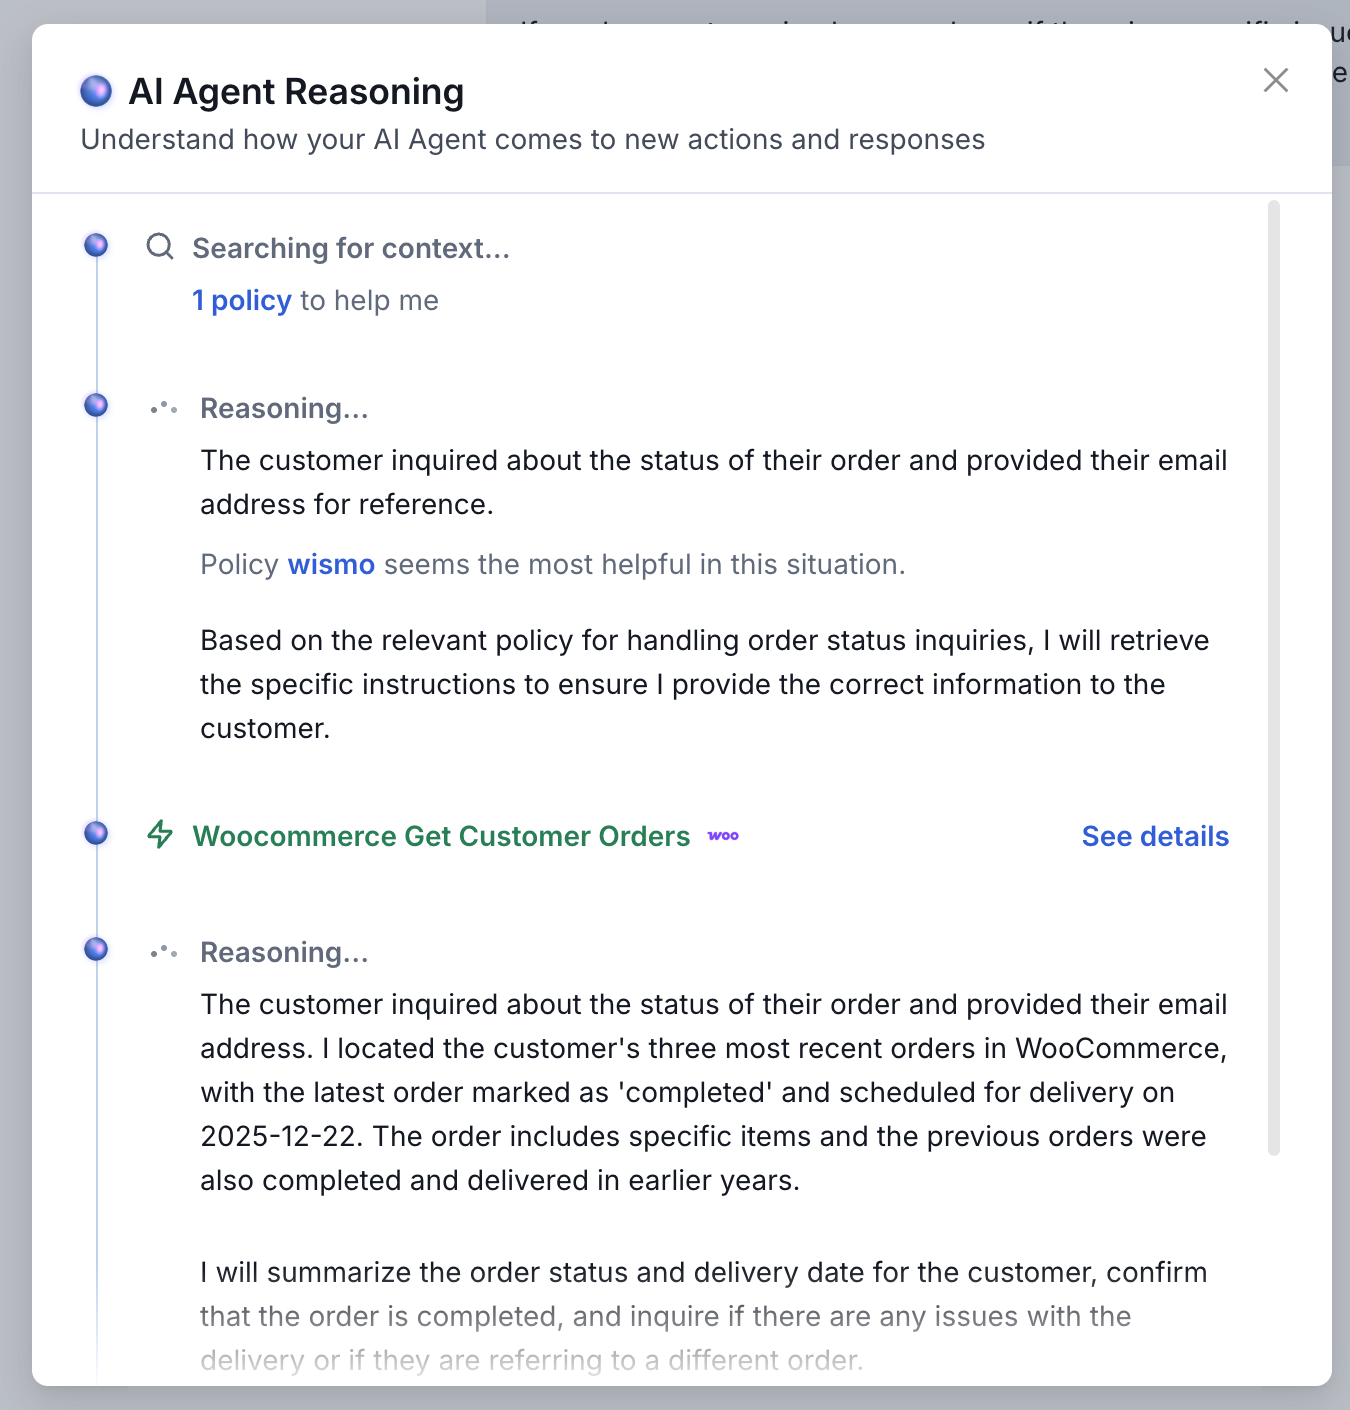
Data Visibility: After a successful check, the agent can access that order’s details: line items, quantities, prices, status, billing and shipping info. When the action is used in a conversation, it appears as an interactive tool call; clicking the details shows the order information that was used by the AI.
Get Customer Orders
Functionality: This action lets the agent retrieve the latest 3 orders for a customer, so they can help with recent purchases, reorders, or order history.
Security & Verification: The agent looks up the customer in WooCommerce by email. If a customer is found, it fetches their three most recent orders (newest first). If no customer exists for that email, the action fails with an error and no order data is shared.
Data Visibility: For each of the three orders, the agent can access the same kind of order details as in Get Order (items, status, totals, etc.). In the conversation, this appears as a tool call; the details view shows the customer email, number of orders returned, and the order data visible to the AI.
Support
Are you experiencing issues integrating with WooCommerce or interested in additional actions?
👉 Please send an email to support@letsengaige.com, with your request, and a member of our team will respond to you promptly.