Connecting Zendesk
Last updated: February 6, 2026
Connect your Zendesk helpdesk to let your AI Agent read conversations, draft responses, and resolve customer inquiries automatically.
You will need Admin access in your Zendesk environment to complete the steps below. Keep in mind that several credentials shown during setup are only displayed once, so make sure to copy and store them securely.
Step 1: Create the Engaige Agent in Zendesk
To allow Engaige to fully interact with Zendesk, you first need to create a dedicated Zendesk user for the AI agent.
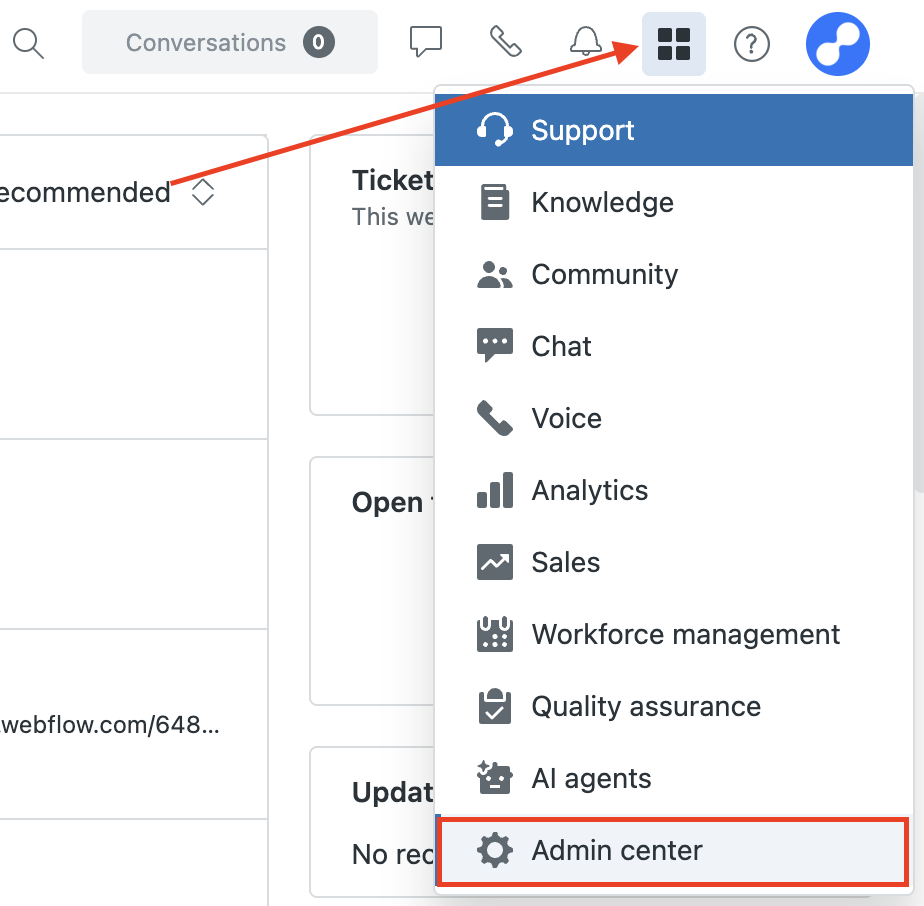
Log in to your Zendesk. On the top right, click on the four squares to show the dropdown. Go to Admin Center
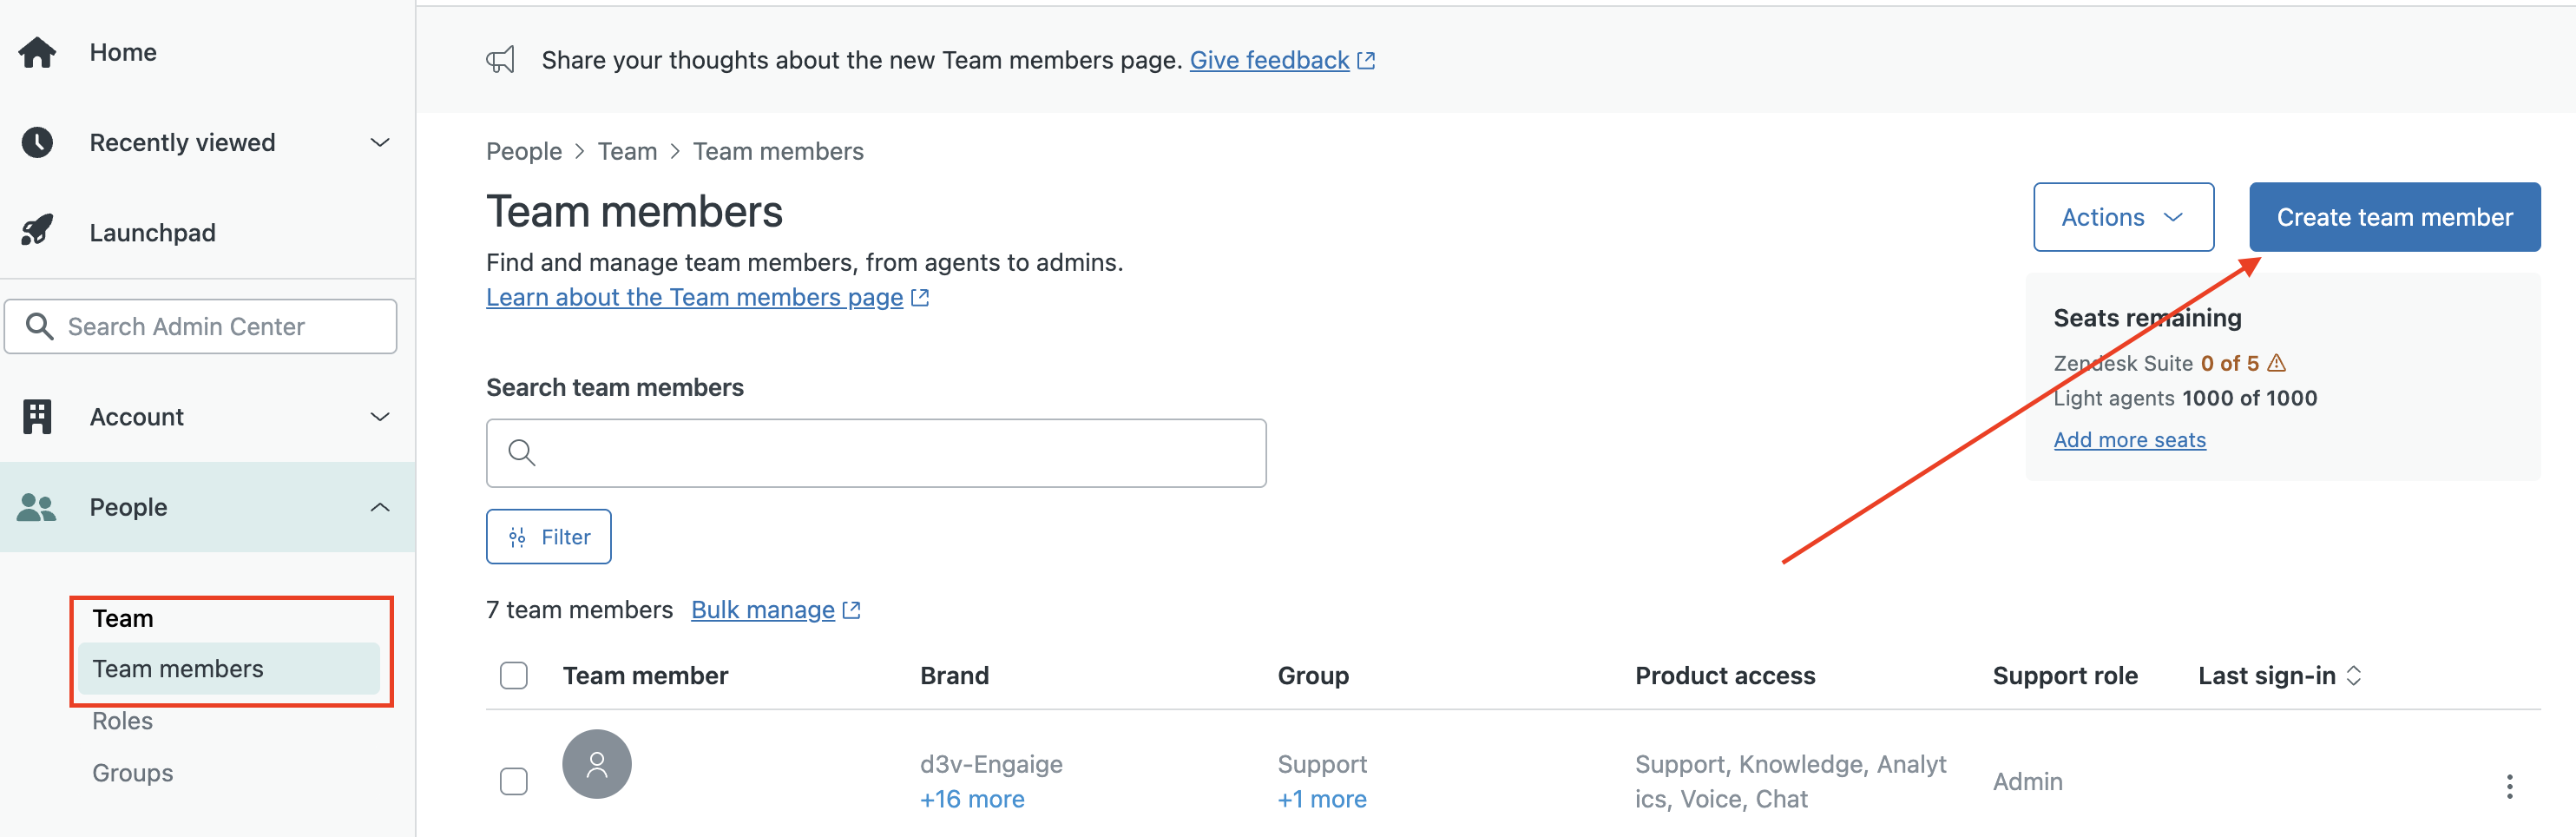
Go to People -> Team -> Team members
Click Create team member
Assign:
A name (e.g. Engaige Agent)
An email address fully controlled by your team
Do not use a shared or personal inbox
Changes to this email or permissions can cause downtime
Under Assign role, select Admin
⚠ The Engaige Agent must have Admin rights for full functionality
Create and save the team member
After creation:
Click the agent’s name
Store the agent’s email address, you will need this later
Step 2: Create the Sunshine App (Conversations API)
This enables deeper interaction with Zendesk Conversations via Sunshine, which is used to automate Messaging/chat conversations.
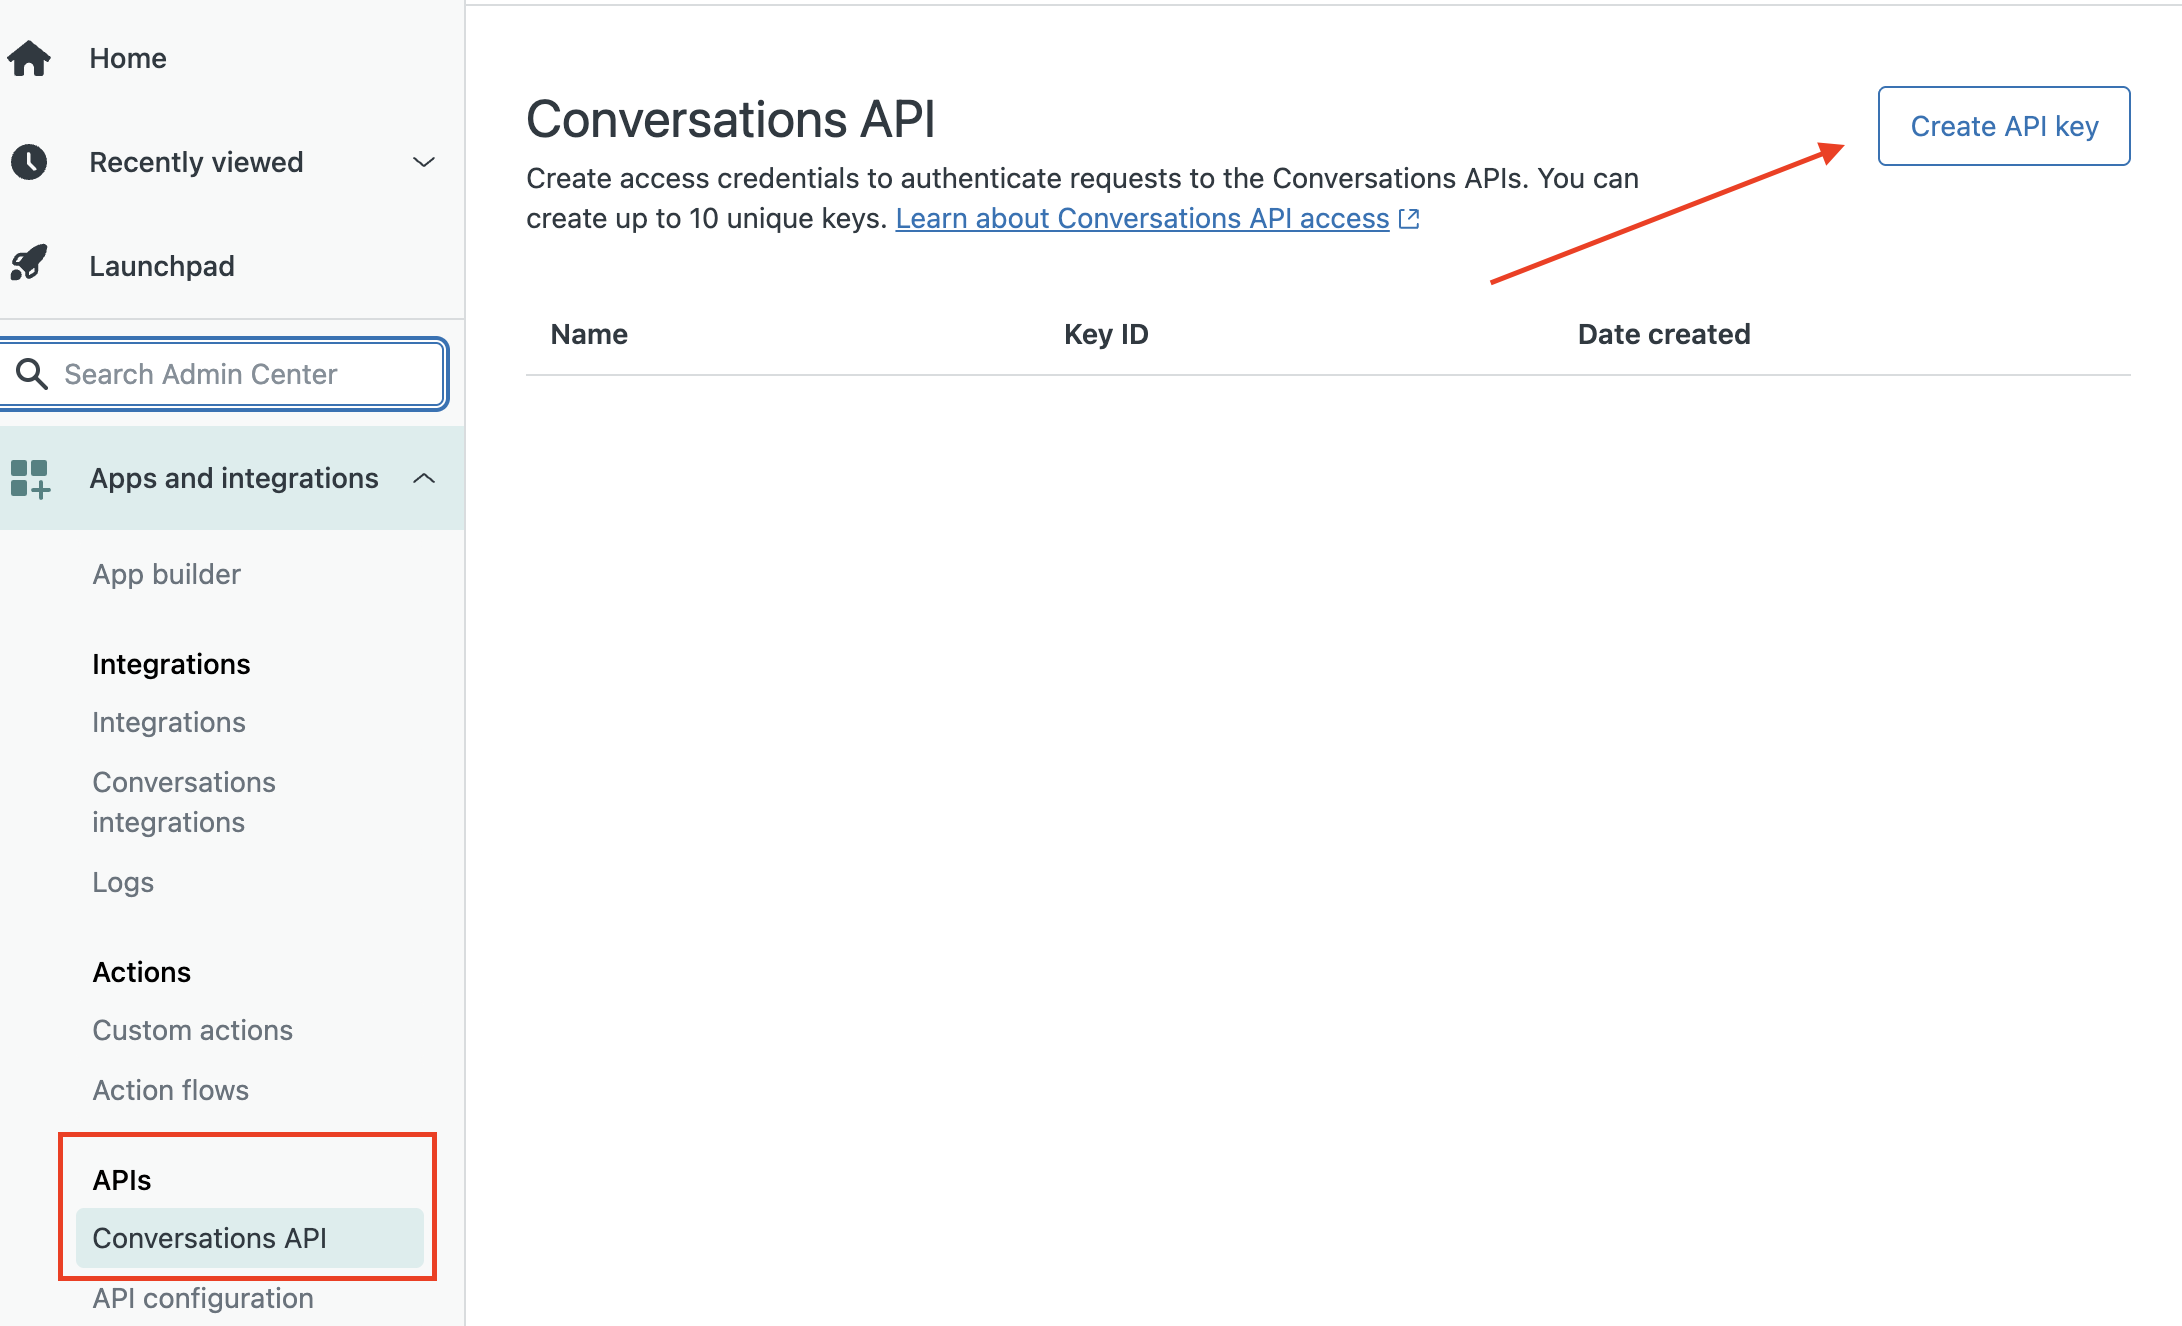
Go to Admin Center -> APIs -> Conversations API
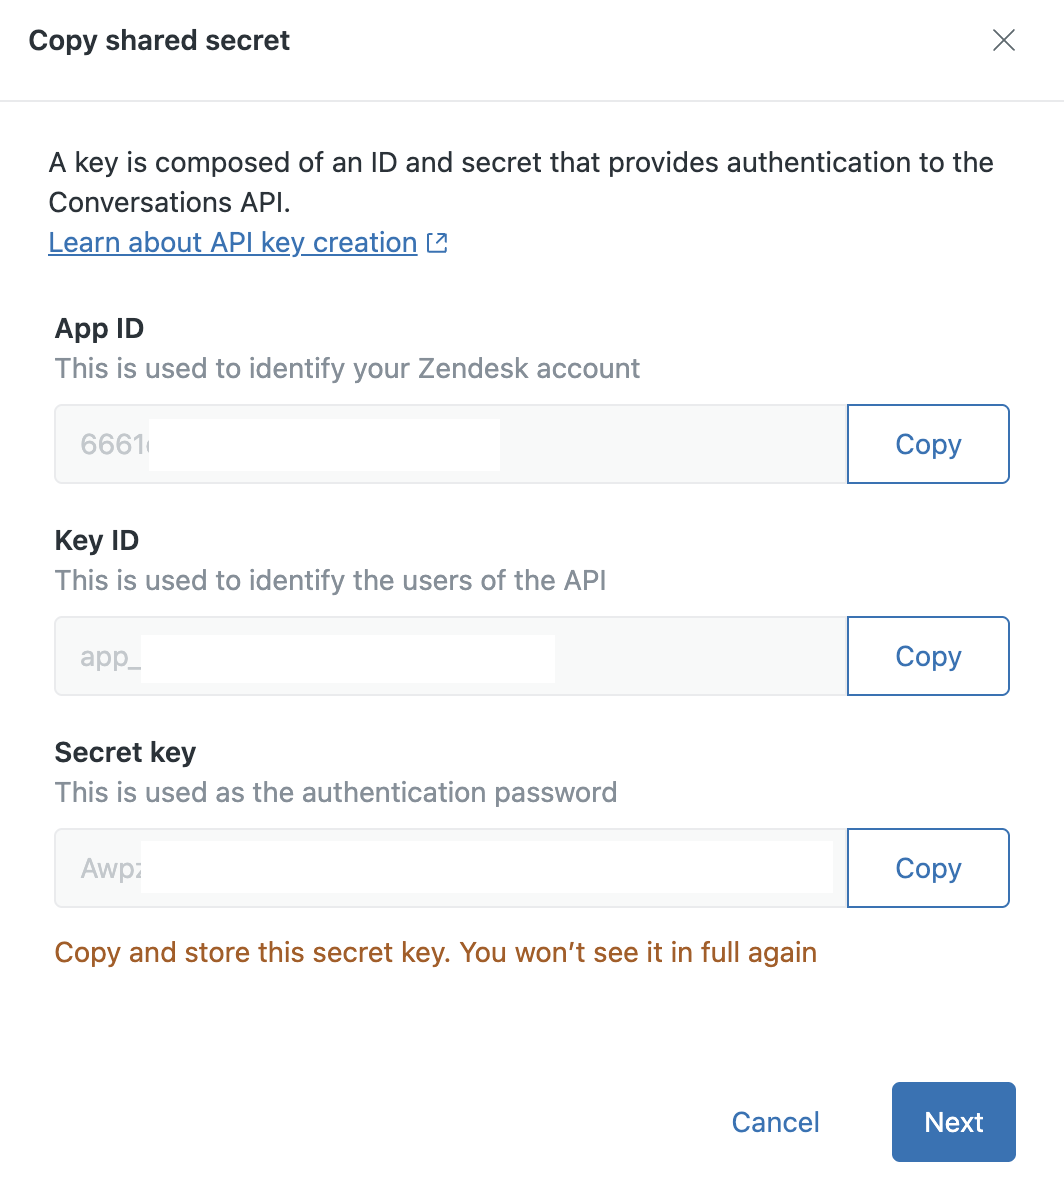
Click Create API Key -> name it something similar to Engaige API
Copy and save: you will need to fill in these credentials later on the Engaige dashboard
App ID (Sunshine App ID)
Sunshine Key ID
Secret Key (⚠ shown only once) (Sunshine Secret Key)
Step 3: Enable API Access & Create an API Token
This token is used by Engaige to authenticate with Zendesk.
Enable API Access
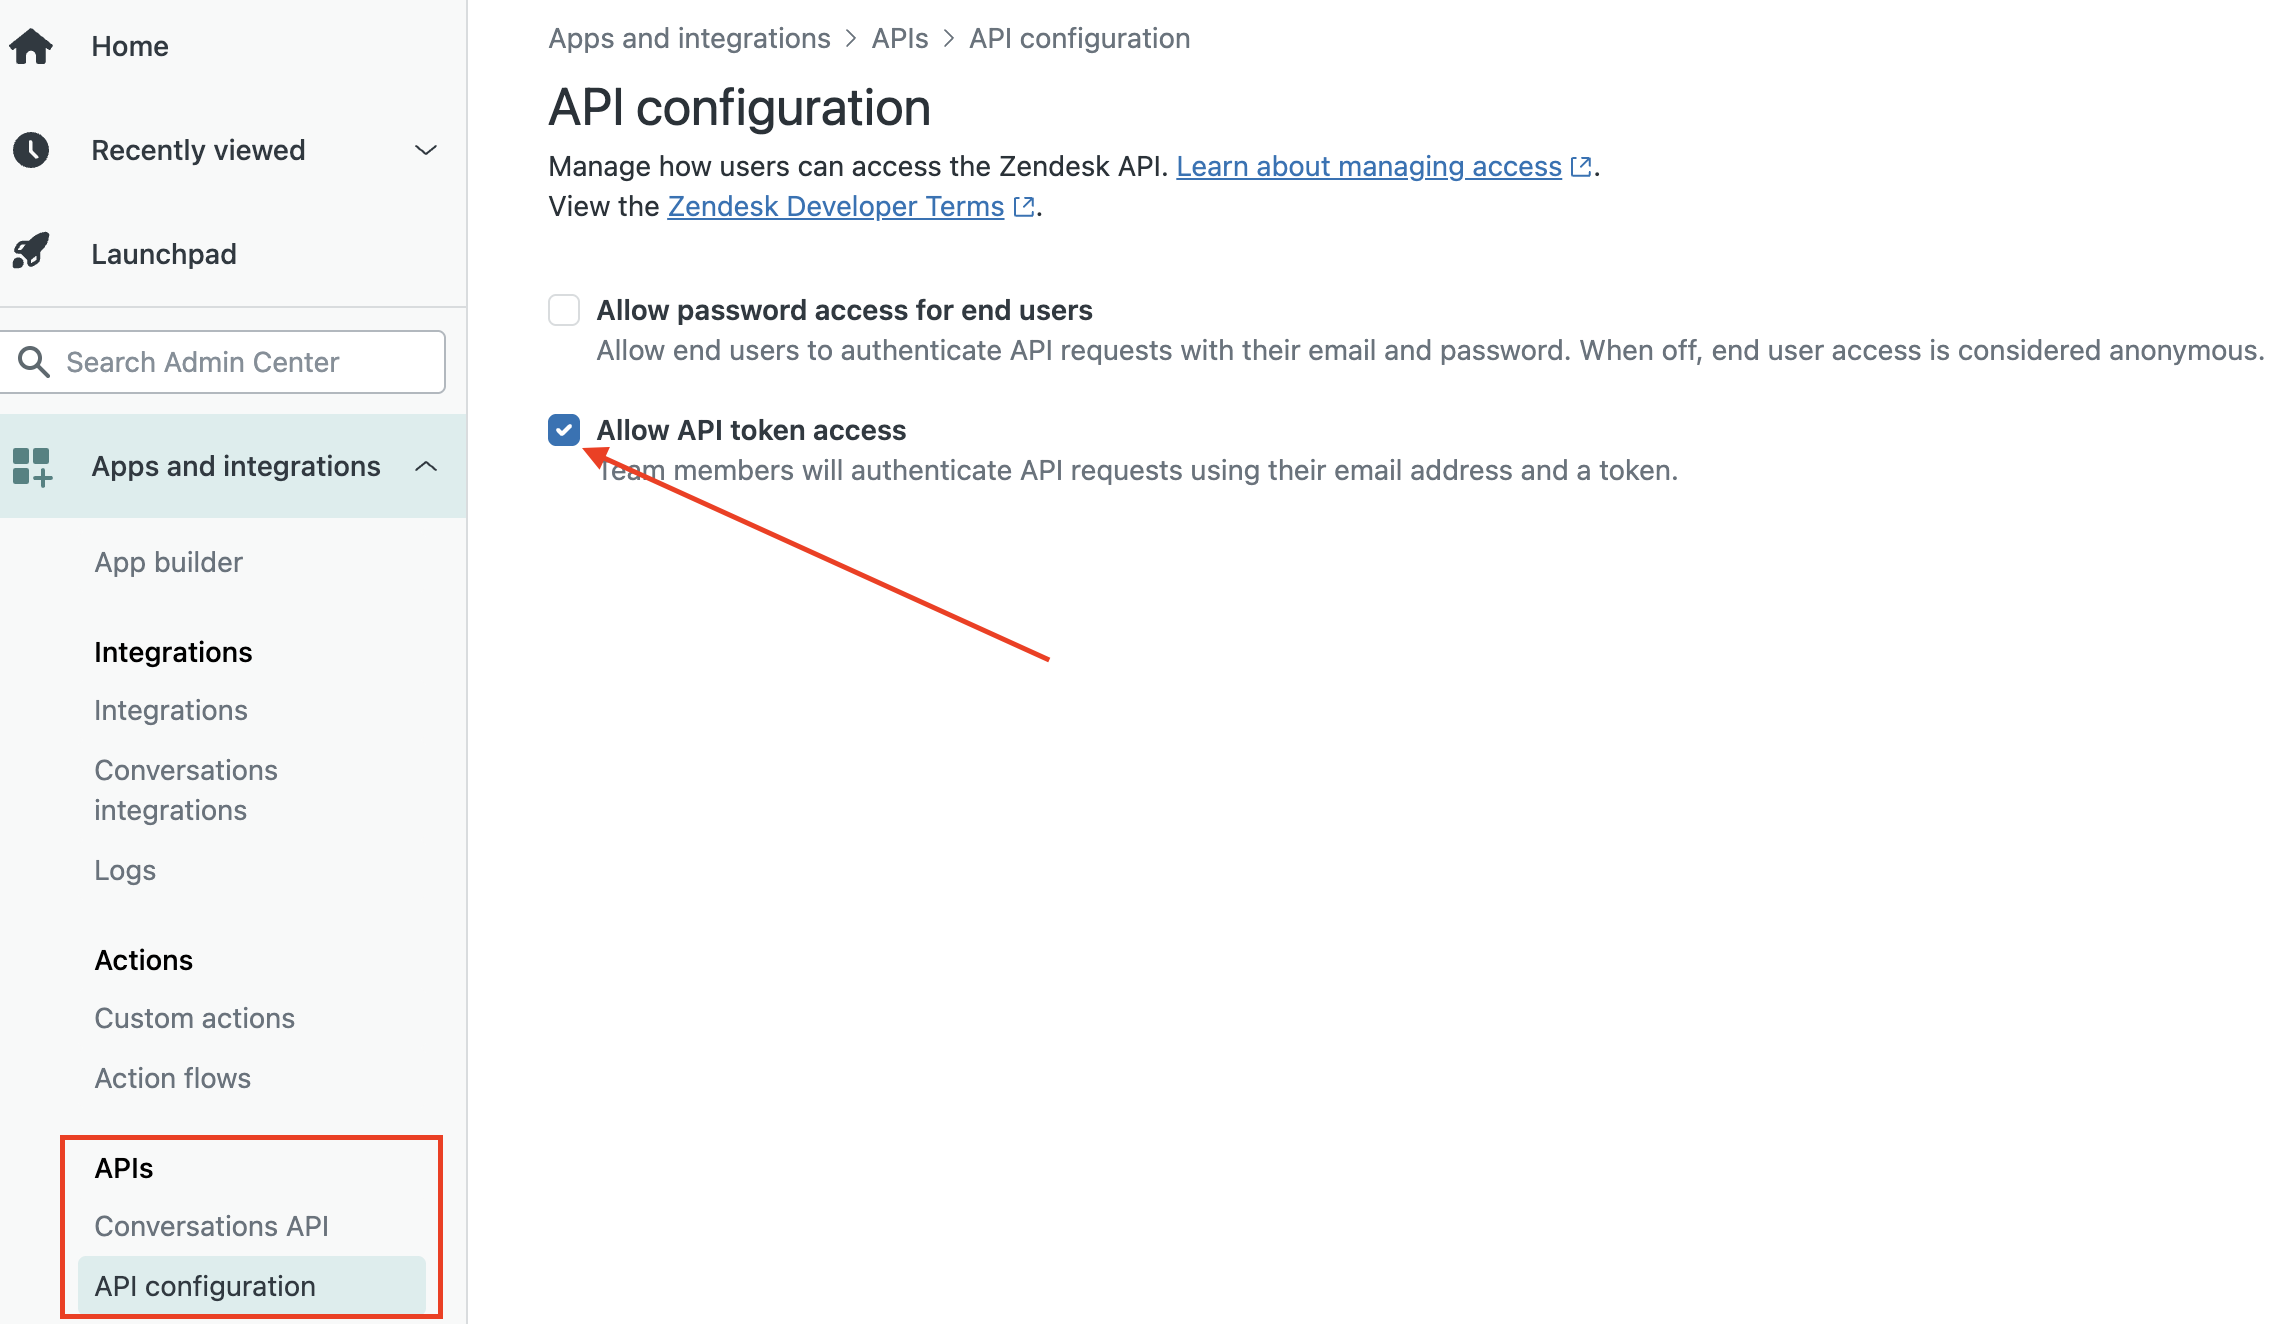
Go to Admin Center → API Configuration
Ensure API access is enabled
Activate Allow API token access, if not activated yet
Create API Token
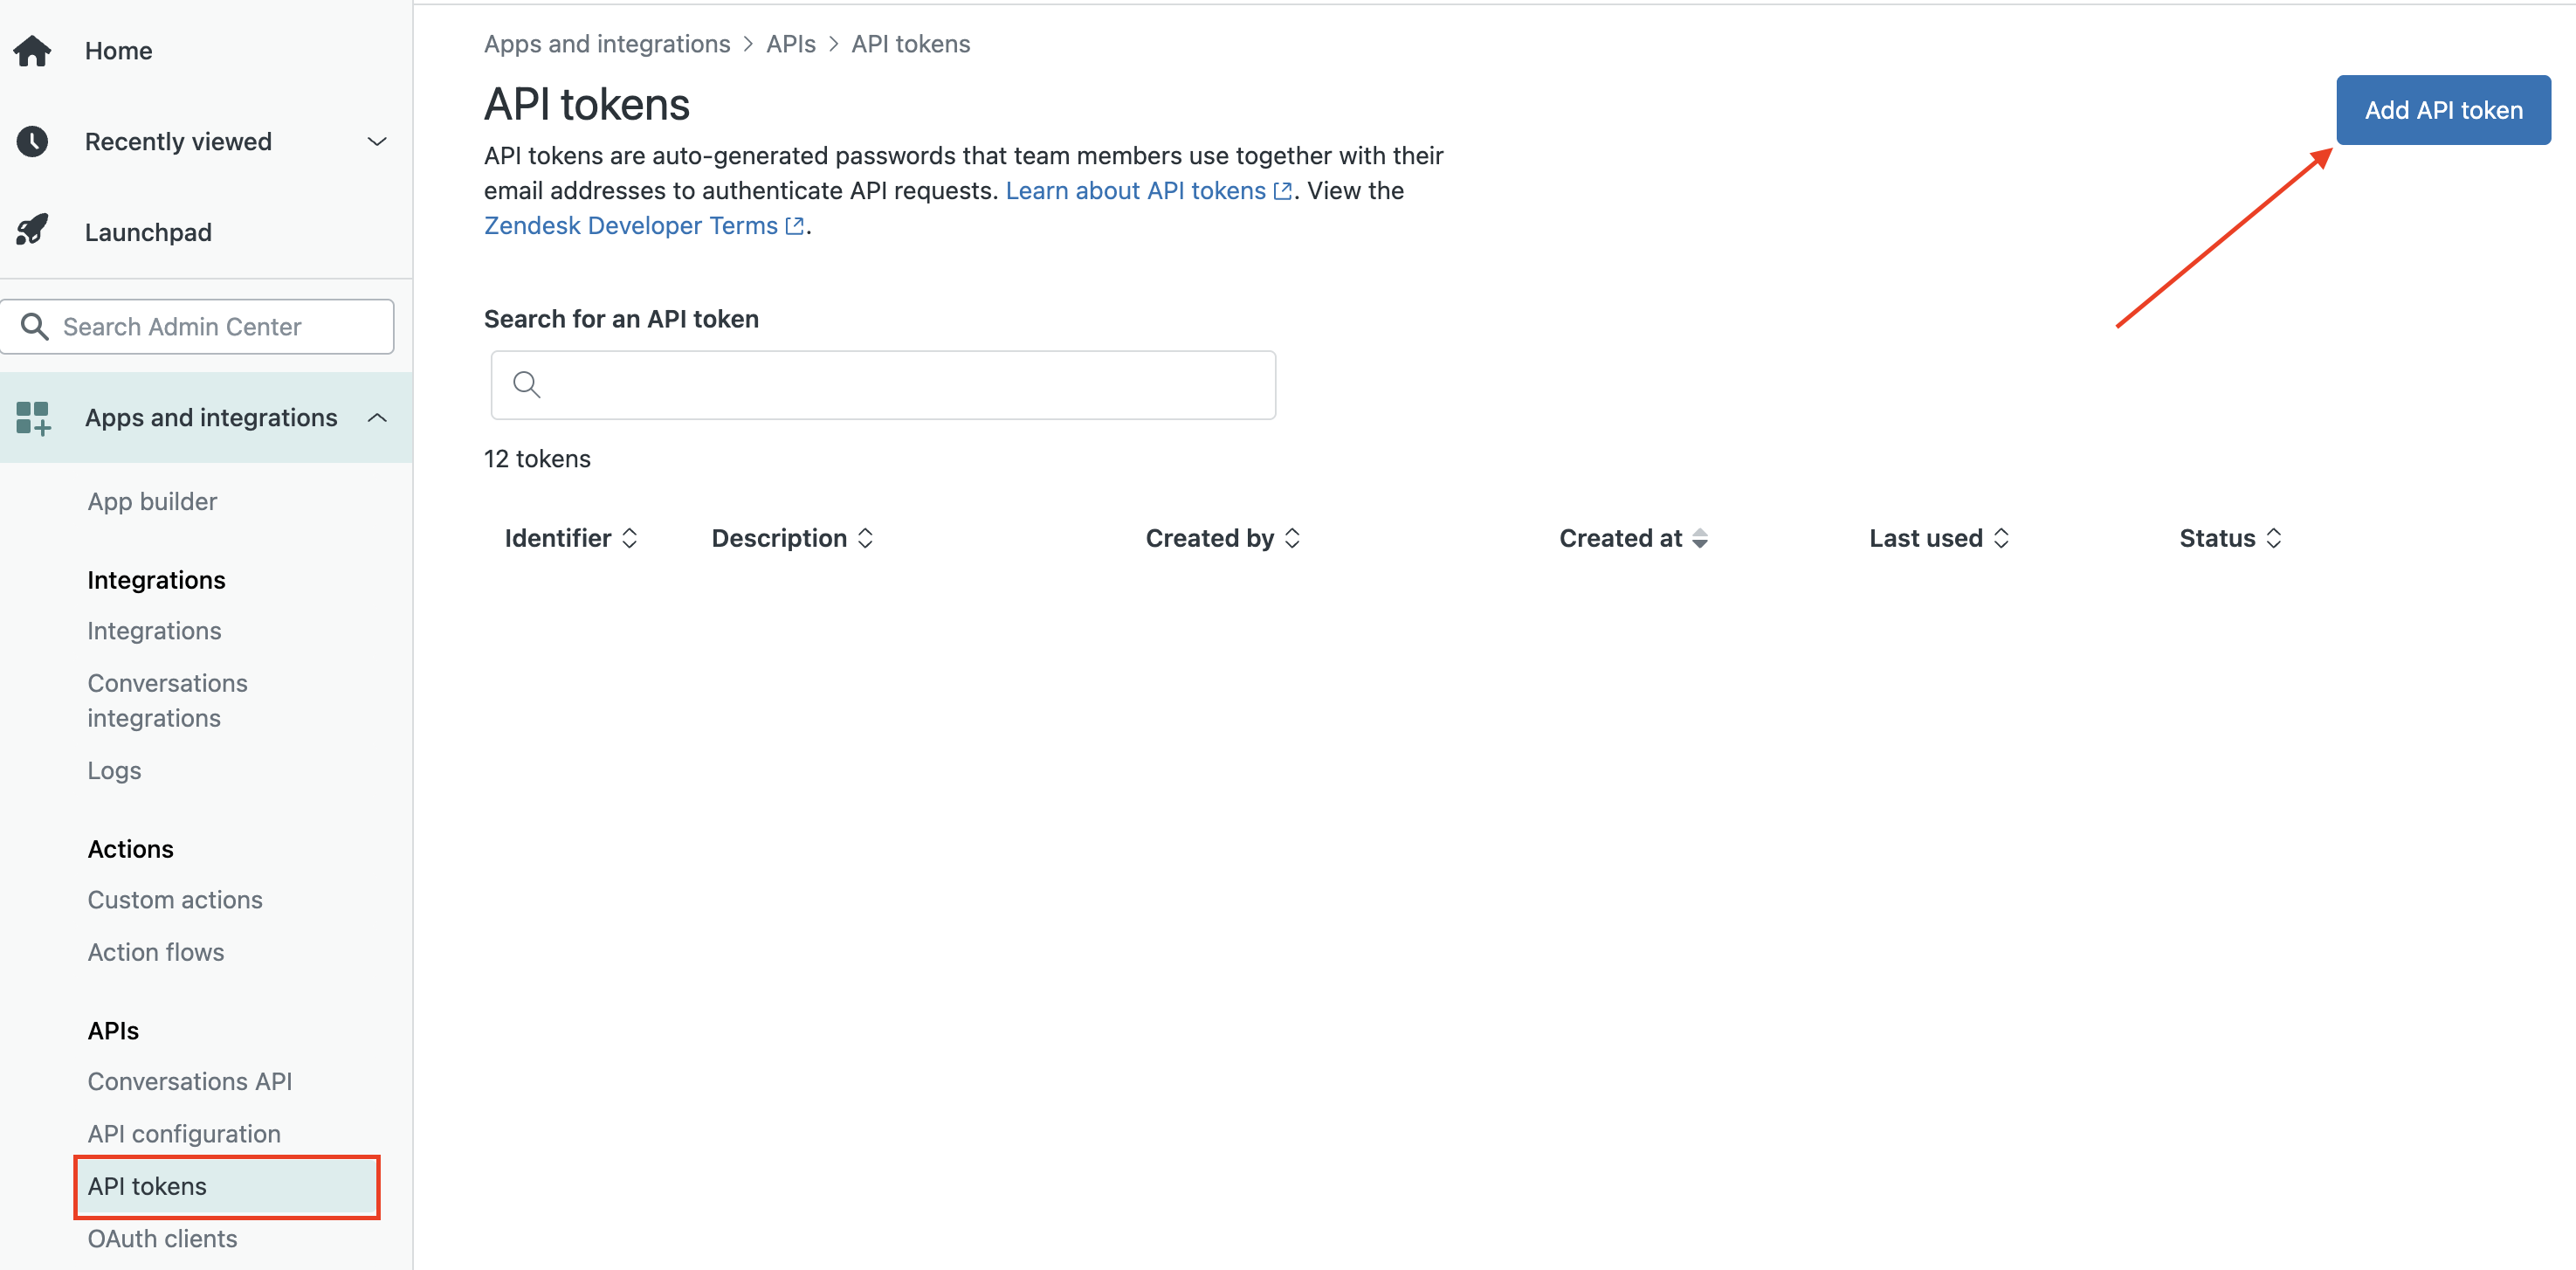
Go to Admin Center → API Tokens
Click Add API Token
Describe the token to something similar to:
Engaige Token
Save, copy and securely save the token. You will need to fill in this credential in the Engaige dashboard later.
Step 4: Enable Zendesk Integration in Engaige
Open your Engaige Dashboard in a different tab.
Go to Settings -> Integrations.
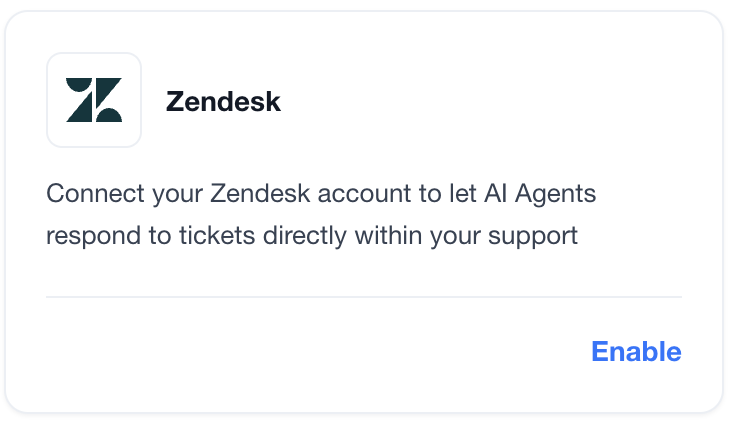
Locate the Zendesk card and click Enable.
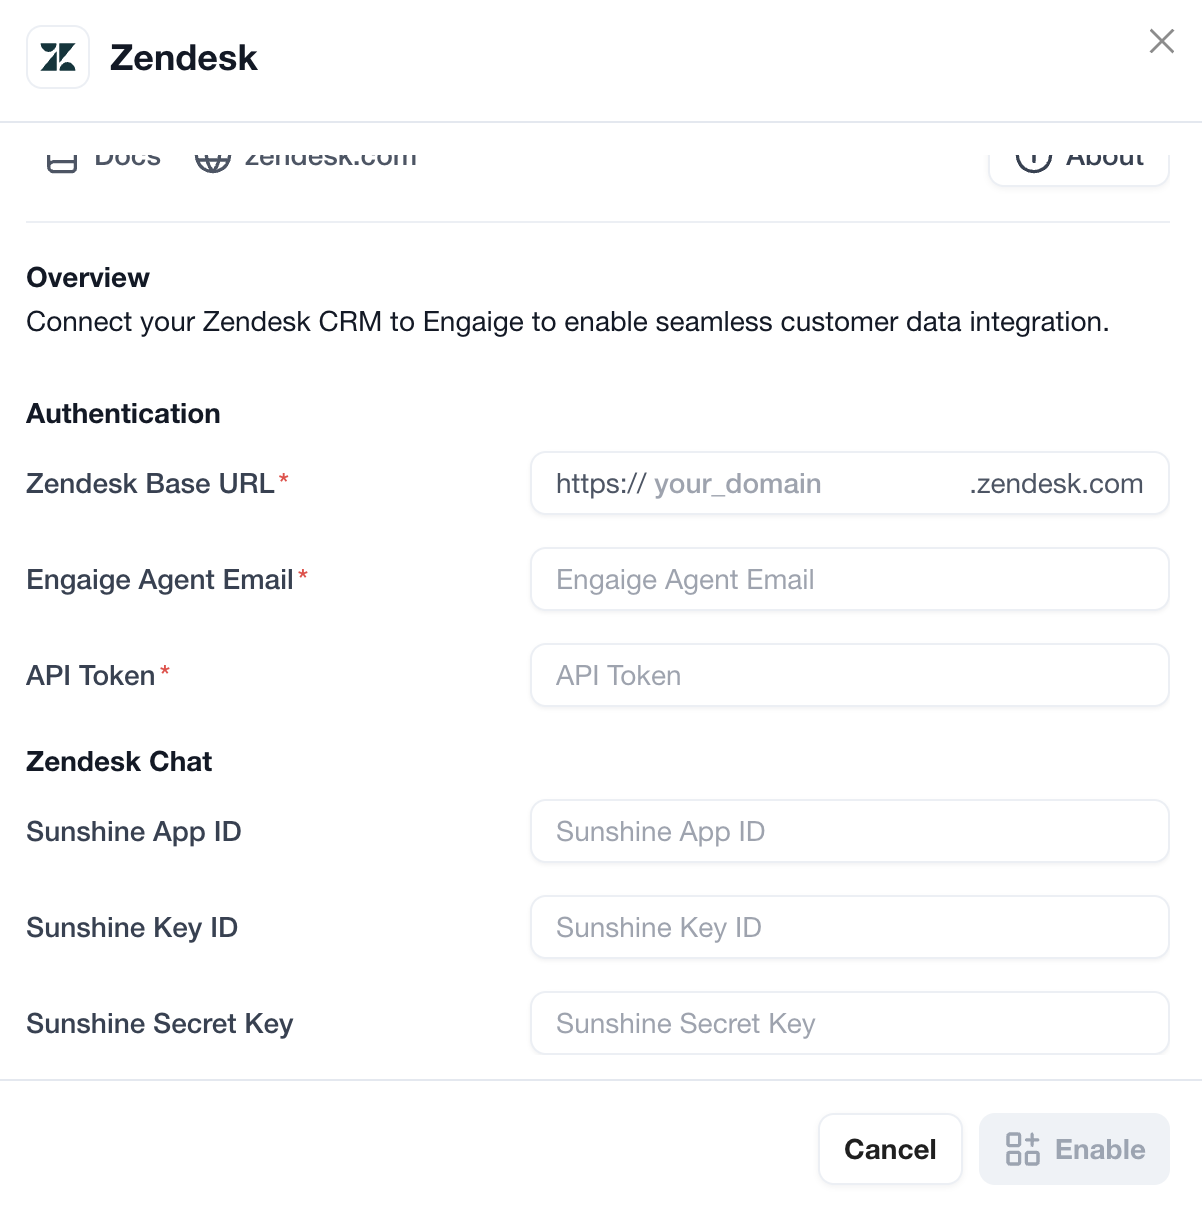
A modal will appear. Enter the credentials you found in Step 1:
Zendesk Base URL: Enter your domain name (e.g.,
brandname). We automatically format this for you.Engaige Agent Email: Paste the email address you created for the Engaige user.
API Token: Paste the API Token you created in step 3.
Sunshine App ID: Paste the Sunshine App ID you created in step 2.
Sunshine Key ID: Paste the Sunshine Key ID you created in step 2.
Sunshine Secret Key: Paste the Sunshine Secret Key you created in step 2.
Click Enable.
If the credentials are correct, the integration will show as Succes and Enabled.
If successful, Engaige will automatically create a trigger that sends webhooks to Engaige to be able to manage inbound tickets. Next to that, Engaige will automatically create 4 groups:
Engaige Agent Group: the group where our AI Agent will be active in to respond to emails.
Engaige Handover Group: the handover group where handed-over emails can be sent to.
Engaige Agent Group (Messaging): the group where our AI Agent will be active in to respond to chats.
Engaige Handover Group (Messaging): the handover group where handed-over chats can be sent to.
Once these steps are completed, your Zendesk environment will be ready for the Engaige AI Agent to start handling conversations automatically. This does not set the AI Agent live yet. If you want to activate your AI Agent, read this article.