Connecting Richpanel
Last updated: September 4, 2026
This guide walks you through connecting your Richpanel customer support system with Engaige to enable seamless data flow between the two platforms.
Step 1: Access Your Richpanel Profile
Log into your Richpanel dashboard
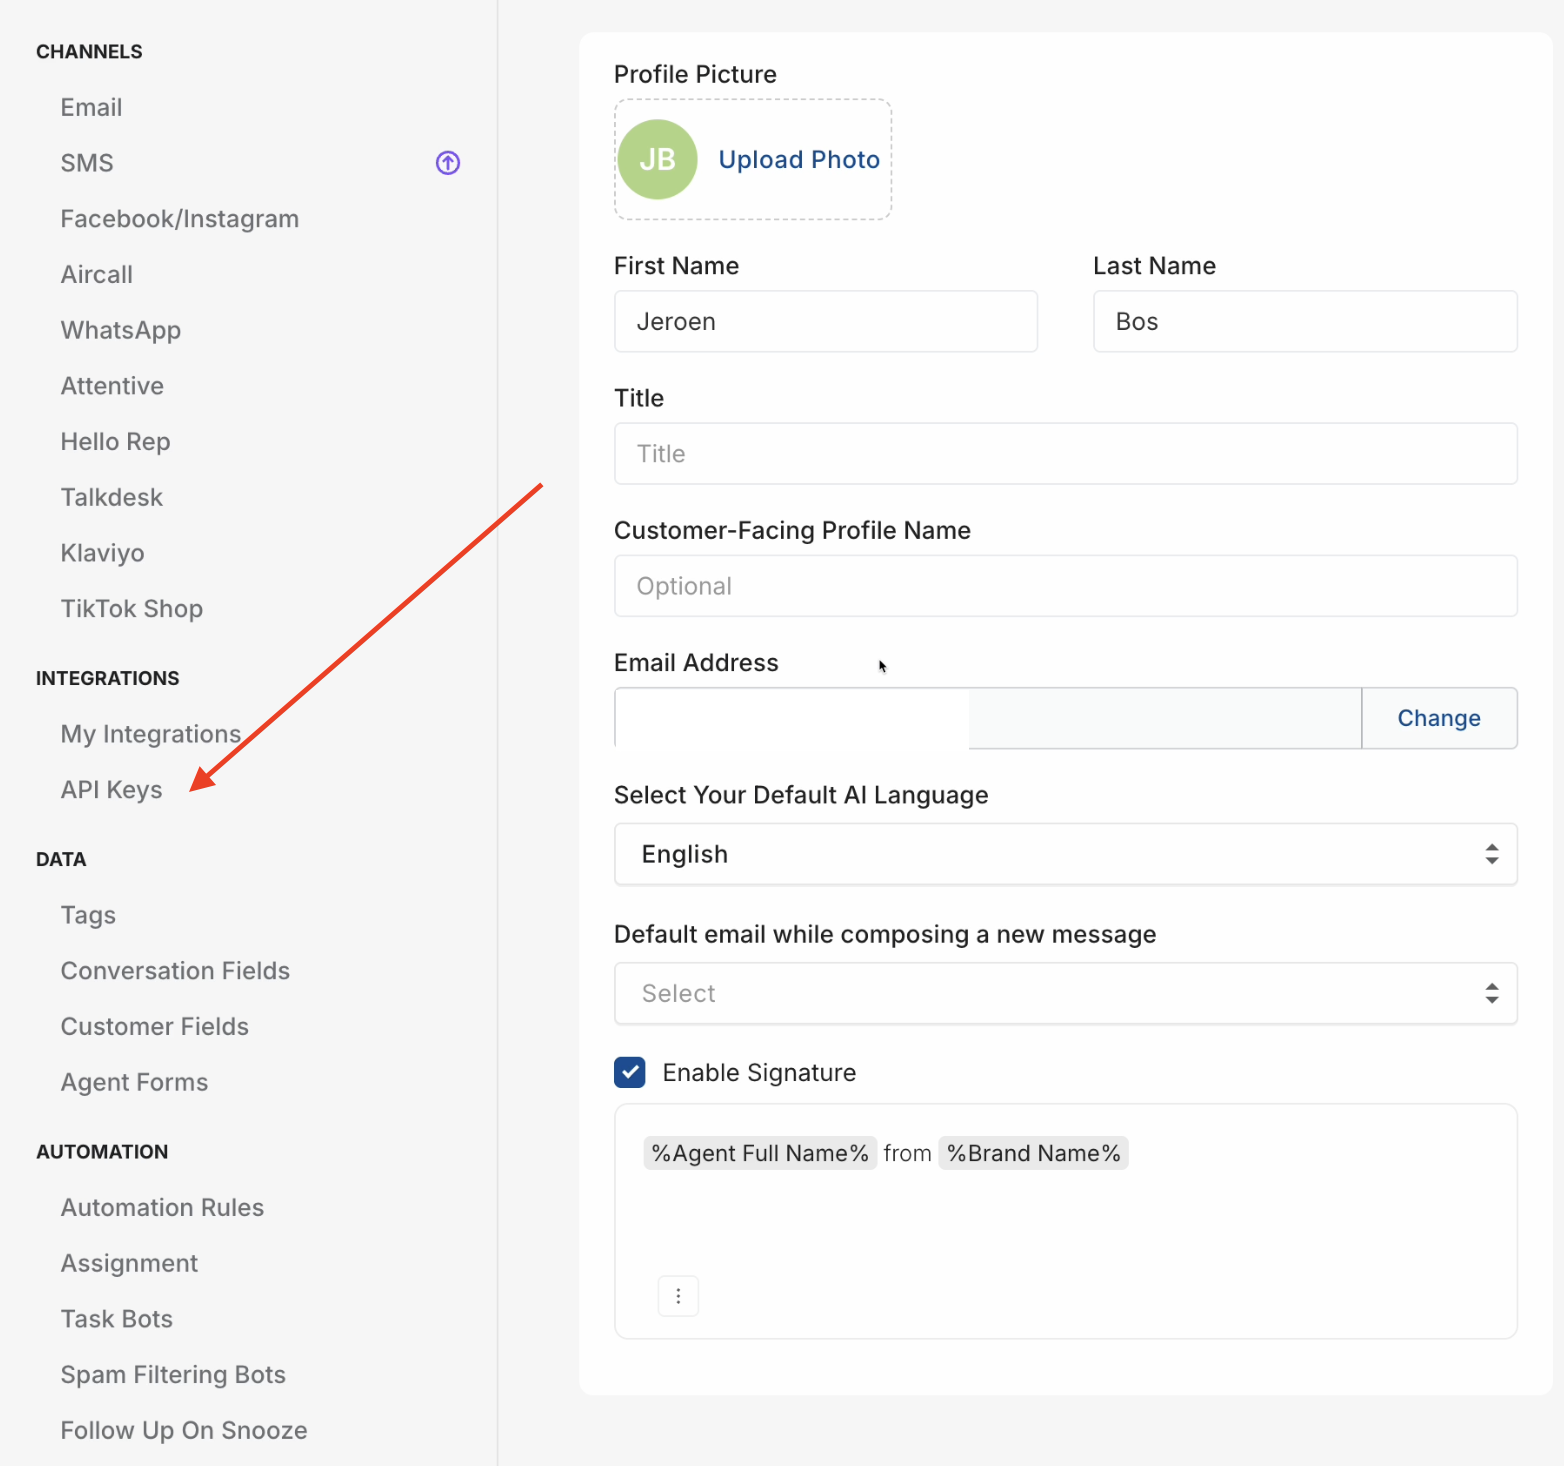
Click your avatar in the top left corner
Select My Profile
Copy your Email Address - you'll need this in Engaige dashboard in Step 3
Step 2: Generate an API Key
From your profile menu, navigate to Integrations > API Key
Click Create Key
Enter a descriptive name (e.g., "Engaige Key")
Click Generate / Create
Important: Copy and securely store this API key in a safe location, you'll need it for the Engaige configuration in step 3
Step 3: Connect Richpanel to Engaige
Go to your Engaige Dashboard > Settings > Integrations
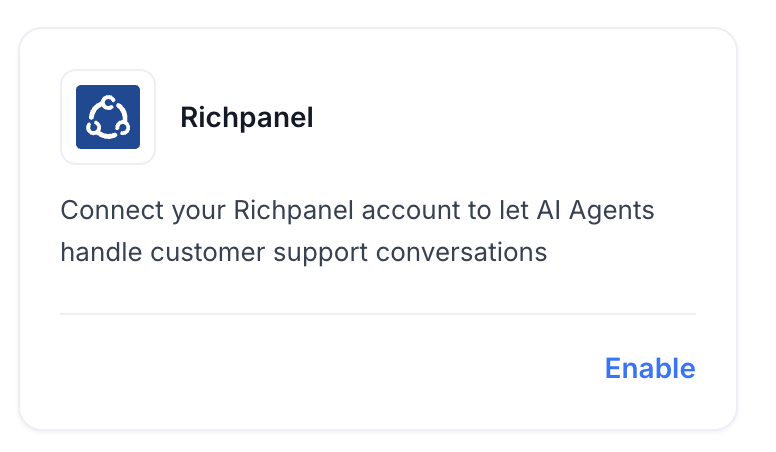
Locate the Richpanel integration section, click Enable
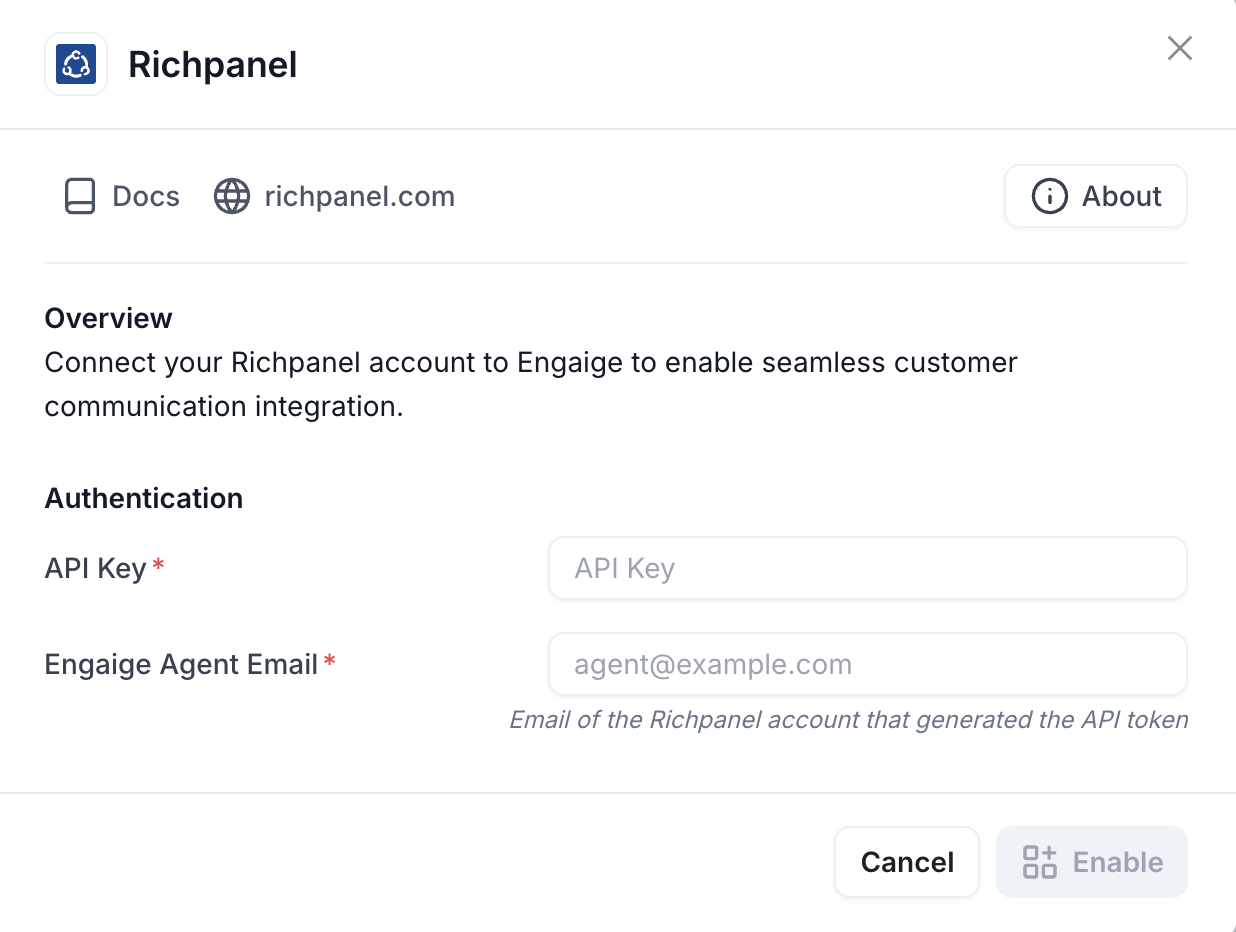
Paste your Richpanel Email Address into the Agent Email field
Paste your API key into the API Key field
Click to enable the integration
Once successfully enabled, you should see a confirmation message. Once connected, Engaige automatically configure your Richpanel environment to work with the AI. In Richpanel, you will see:
A new AI Agent Queue in Richpanel: most likely called Engaige
A new Handover Queue (for tickets the AI cannot solve): most likely called Engaige Handover Team
A new User: most likely called Engaige Agent
Step 4: Retrieve Webhook Configuration from Engaige
In Engaige, click Settings on the Richpanel integration you just created
You will see Webhook Configuration
Copy the Webhook URL provided in the configuration panel
Step 5: Create Custom Webhook in Richpanel
In Richpanel, go to Integrations > My Integrations
Click Add Integration
Scroll down to find Custom - HTTP Target
Click on it to open the webhook configuration window
Fill in the following fields:
Title: Enter a descriptive name (e.g., "Engaige Webhook")
URL: Paste the Webhook URL you copied from Engaige
HTTP Method: Select POST
Request Content Type: Select Send the entire ticket/message JSON
In the Headers section, add a new header:
Header Name:
X-Richpanel-Webhook-TokenHeader Value: Go back to the Engaige Dashboard, copy the header value from Webhook Configuration, and paste it here
Review all settings to ensure they're correct
Click Create Webhook in the top right corner
All of these will be used later to route tickets to your AI agent so that it will respond to your incoming tickets. Do this after you have fully setup and tested your agent. You can read more about activating your AO Agent in Richpanel here.